
Burlap Potli Bags
DIY steps for Potli bags
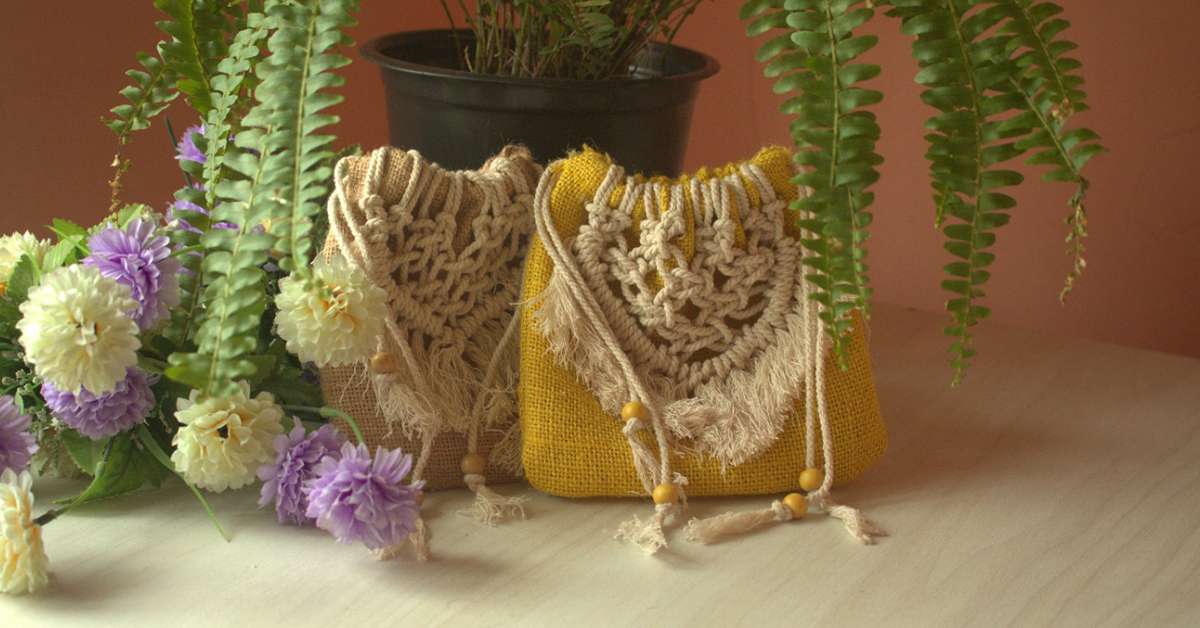
Potli bags are one of those fashion essentials that you just can’t live without having one. What’s more interesting to know is they double up as unmistakable decor elements for your rooms as well.
Although they look intricate, making them on your own isn’t challenging. Certainly not with the easy-peasy DIY steps I’ve shared below:
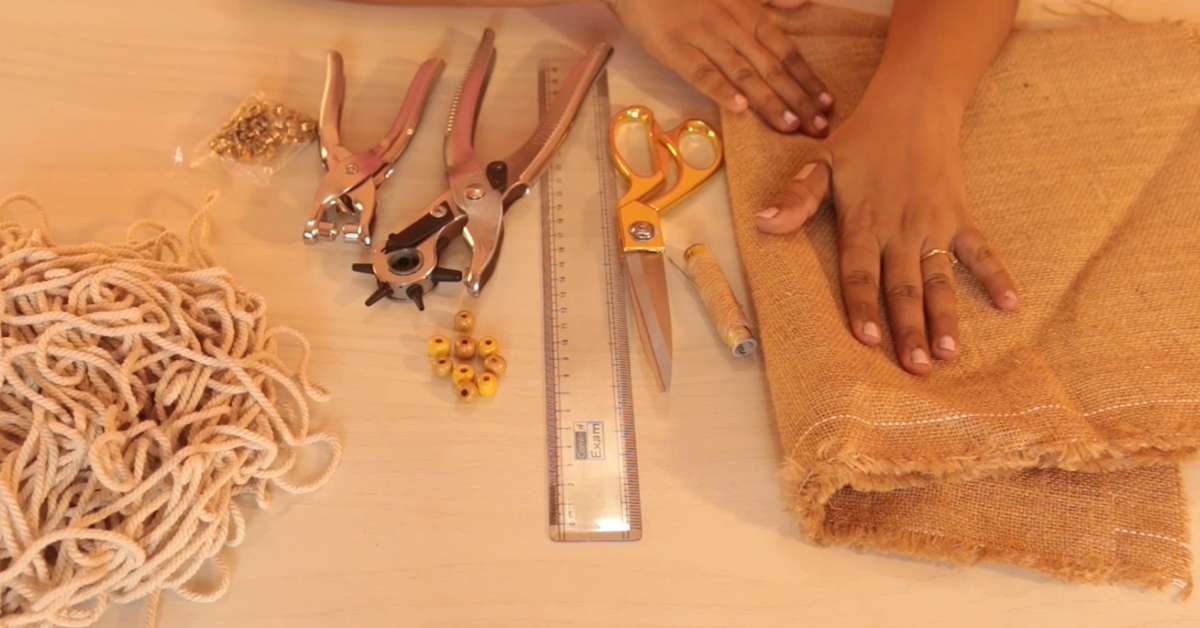
1) Get ready with all the essentials
Having everything that’s needed for this project will help make this DIY journey a smooth-sailing one. You’ll need:
- Burlap fabric
- Thread with colour that matches burlap fabric
- A pair of scissors
- A ruler/scale
- Straight pins/embroidery pins
- Sewing needle
- A pen
- A comb
- Beads
- Punching tool
- Grommet setting kit
- Macrame cords
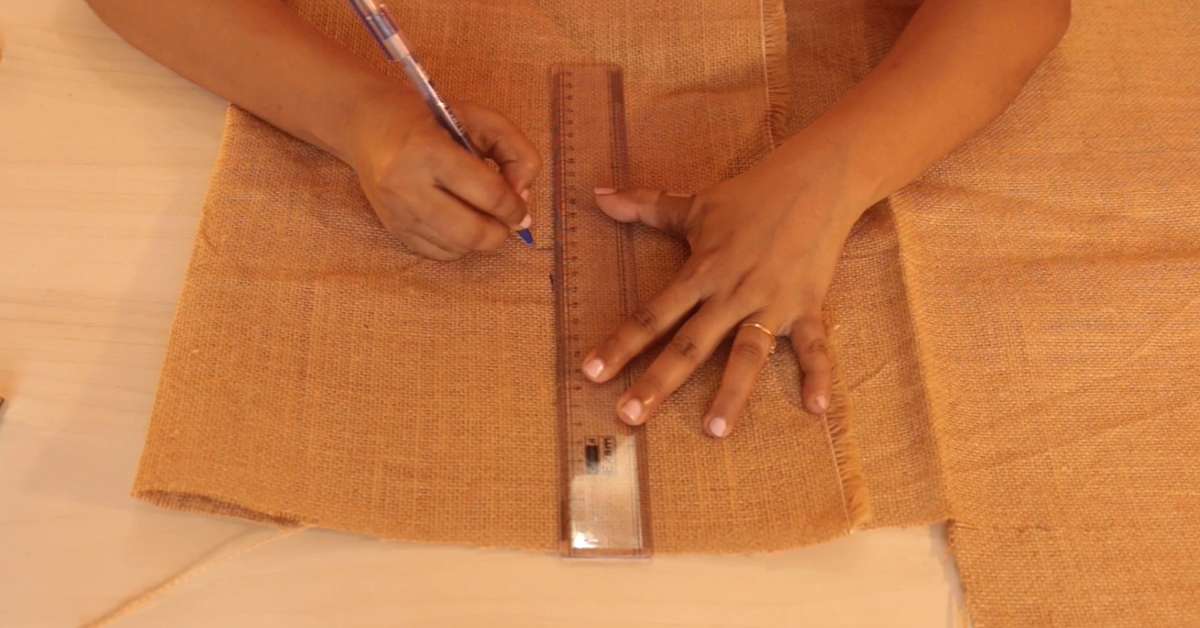
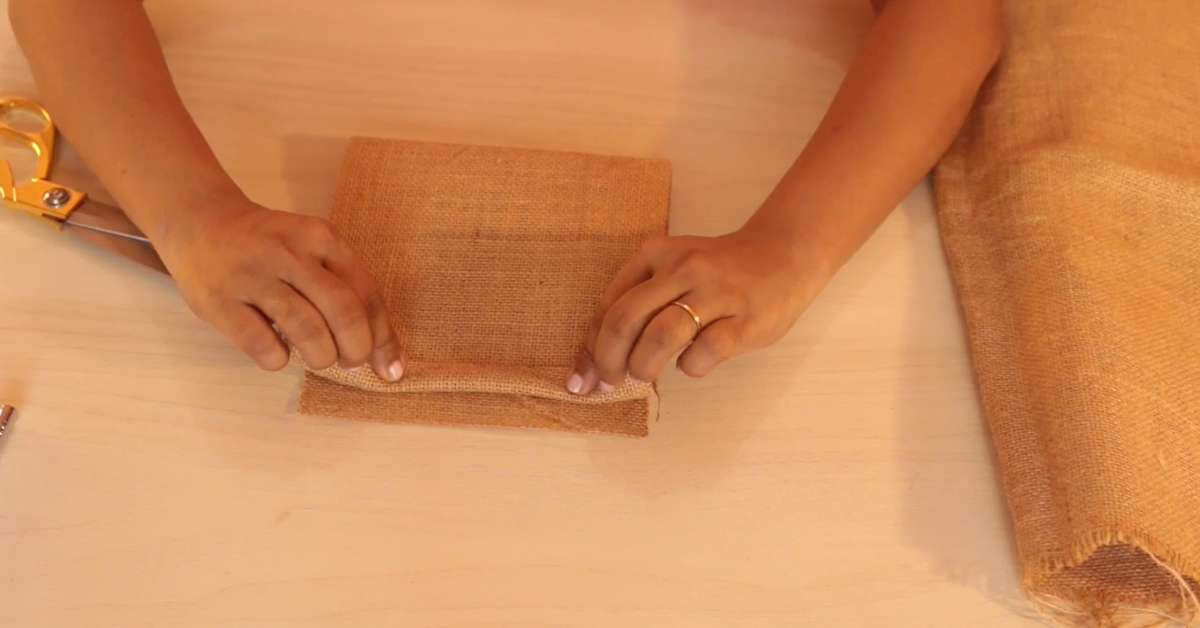
2) Get the basic potli bag layout right
Take the burlap fabric and fold it into half. Since the folded crease of the fabric will become the base of the bag, take 17 by 17 cm measurement vertically and parallelly from the fold using a ruler. Using a pen, mark where the two points meet and draw two lines.
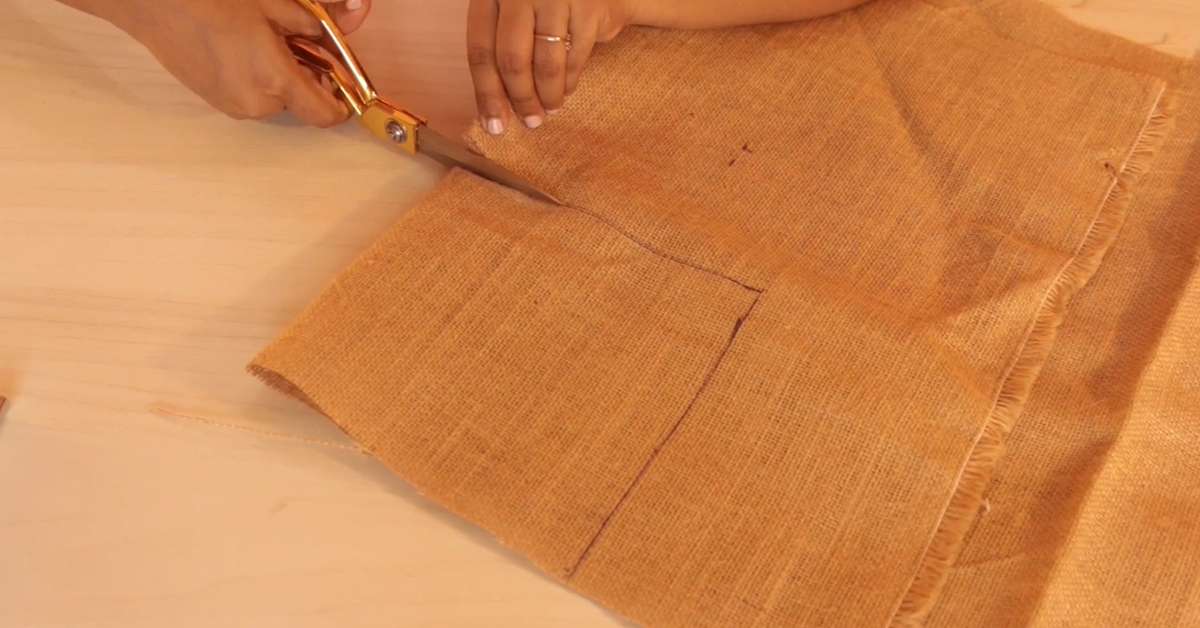
Use the lines as the reference to cut the fabric.
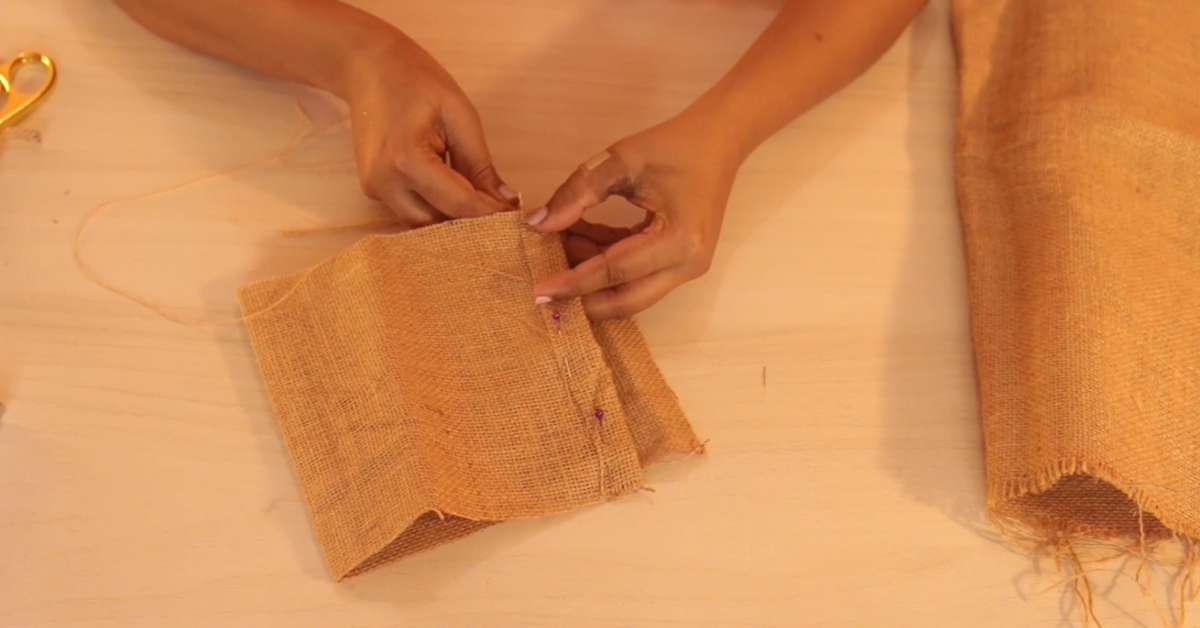
3) Prepare the drawstring channel
Take the two free ends of the fabric (opposite ends of the folded crease) and fold them outwards.
Use a couple of straight pins to temporarily secure them in place and using sewing thread and needle. Repeat this for the other side of the fabric.
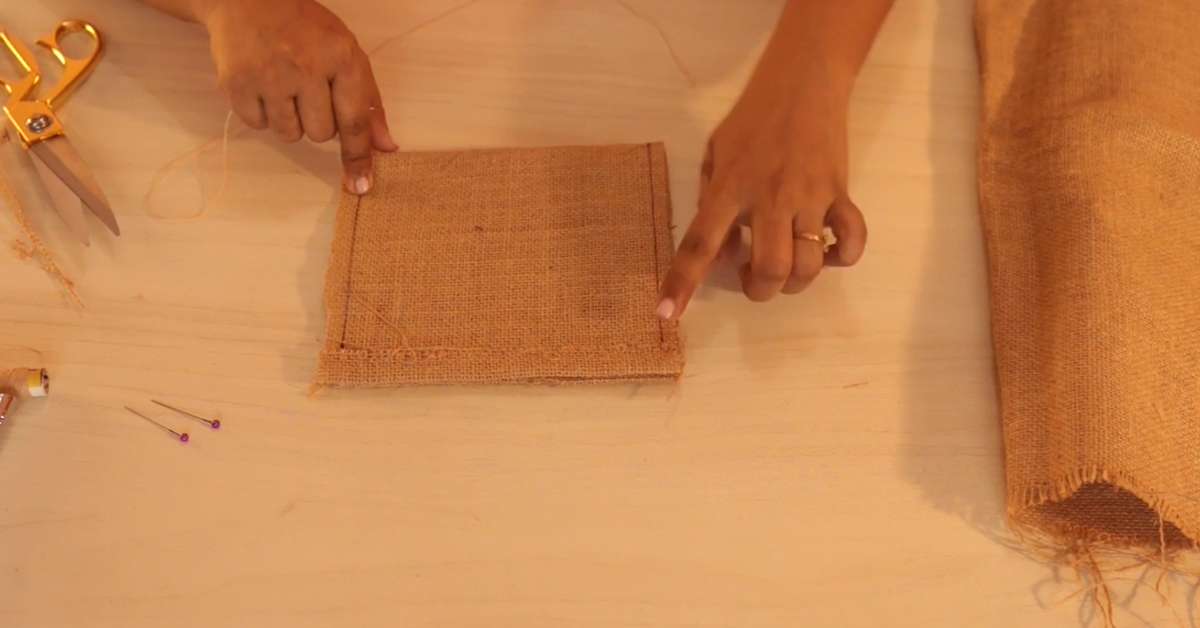
4) Close both sides of the bag
To close the two remaining sides of the bag, mark lines that are close to the edges. When sewing on these lines, make sure to avoid the drawstring channels so that you don’t close them off.
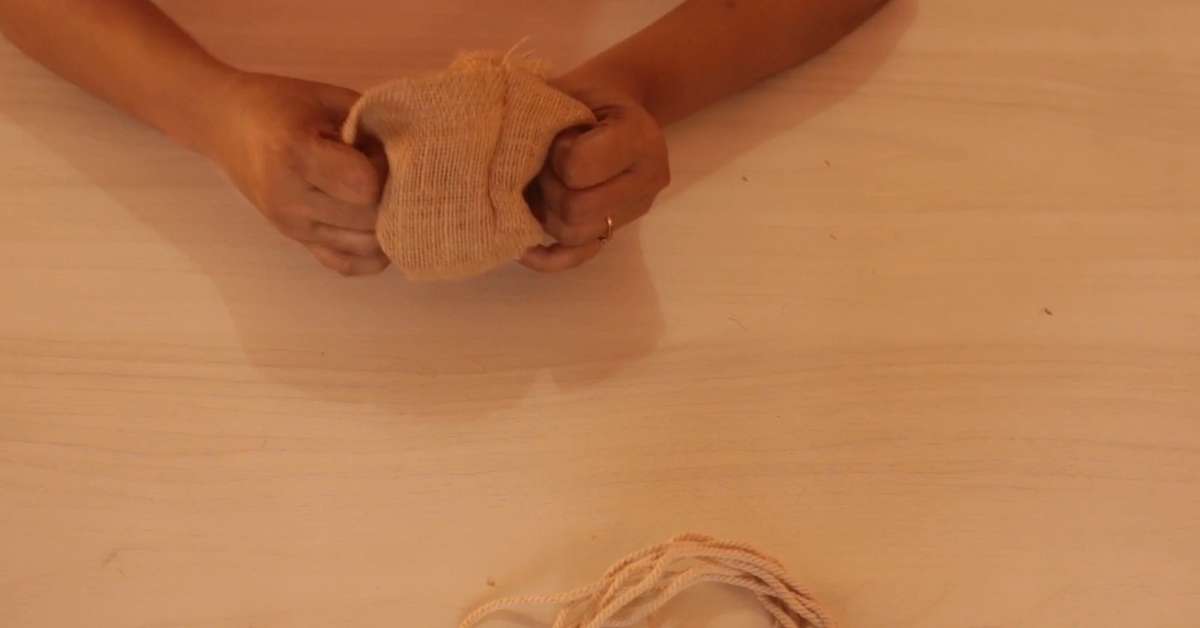
5) Fold the bag inside out
Keep the markings and stitches concealed by folding the bag inside out.
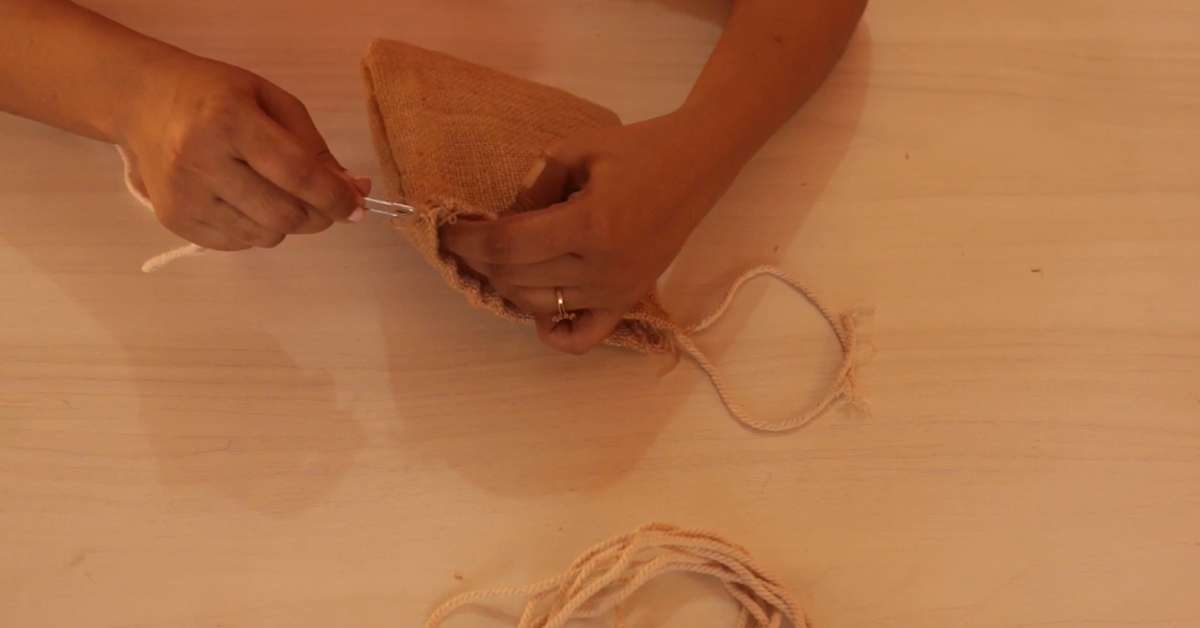
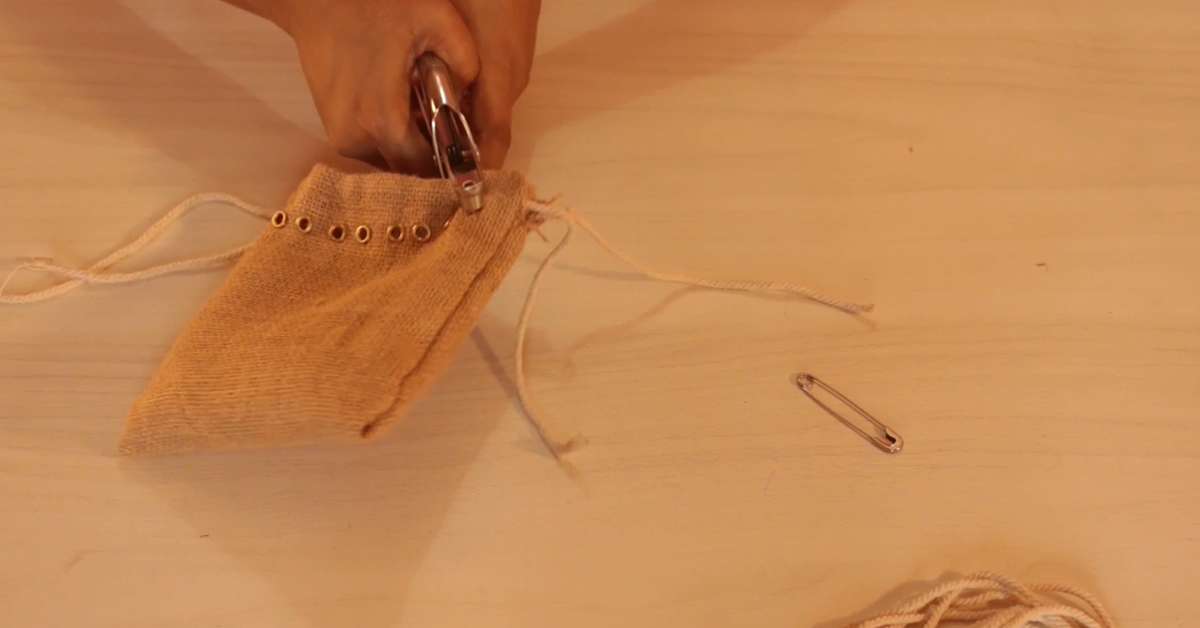
6) Insert the drawstring
Insert the drawstring in the bag the easy way by wrapping a bit of sticky tape on one end of the string, this will make the string end firm.
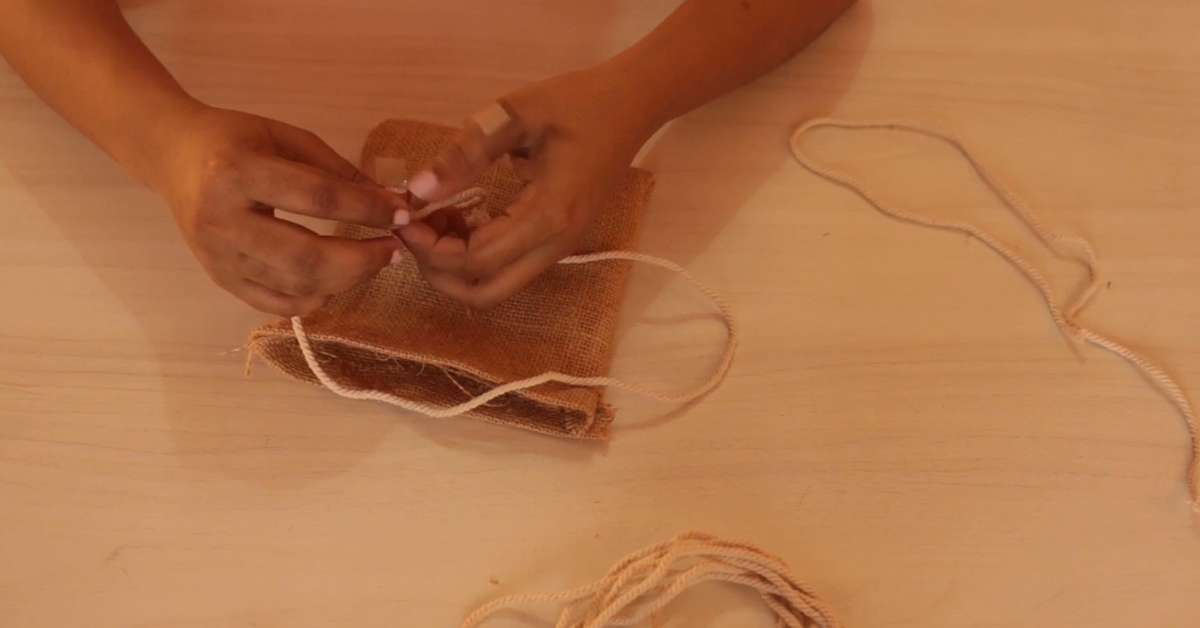
Latch a safety pin on the same end and use it to guide the string through the channel.
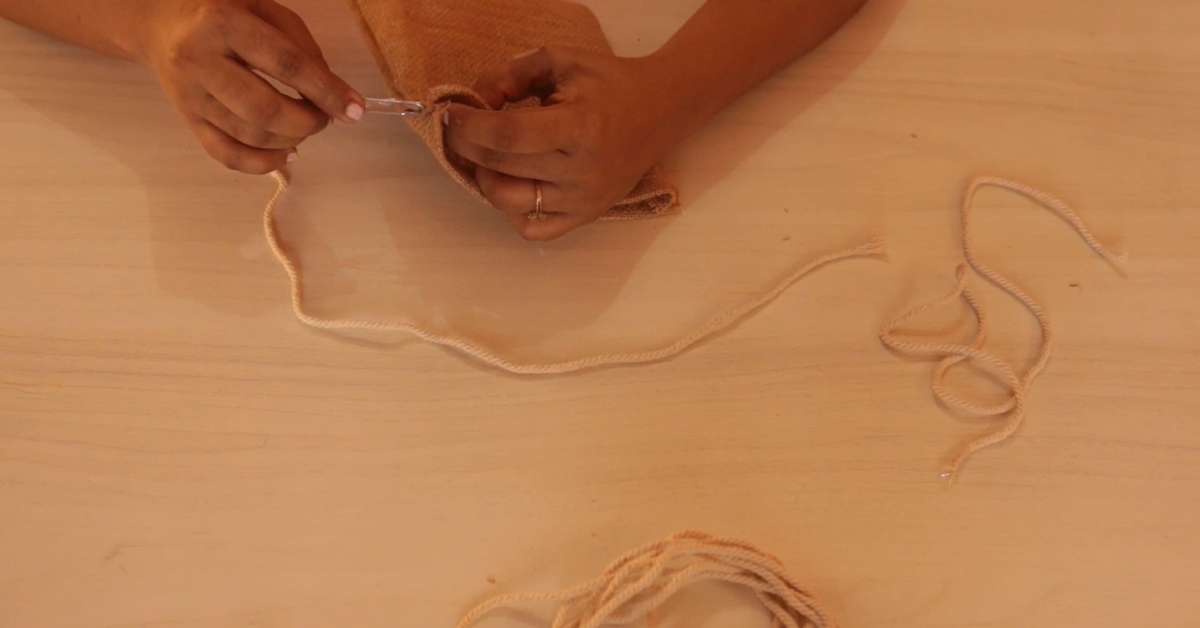
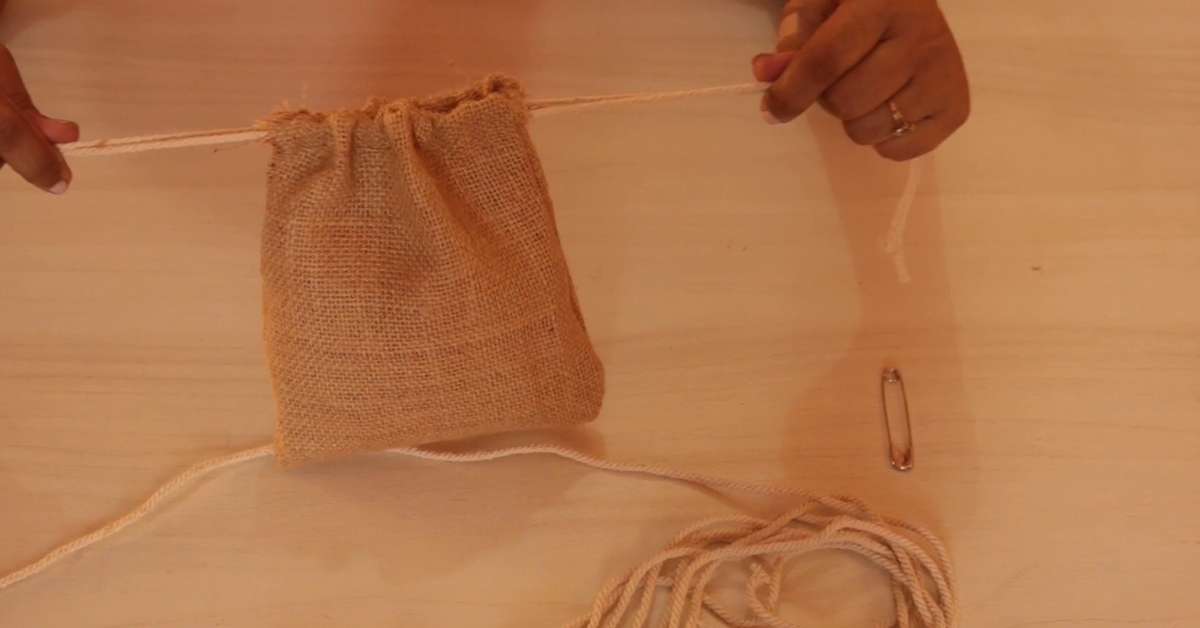
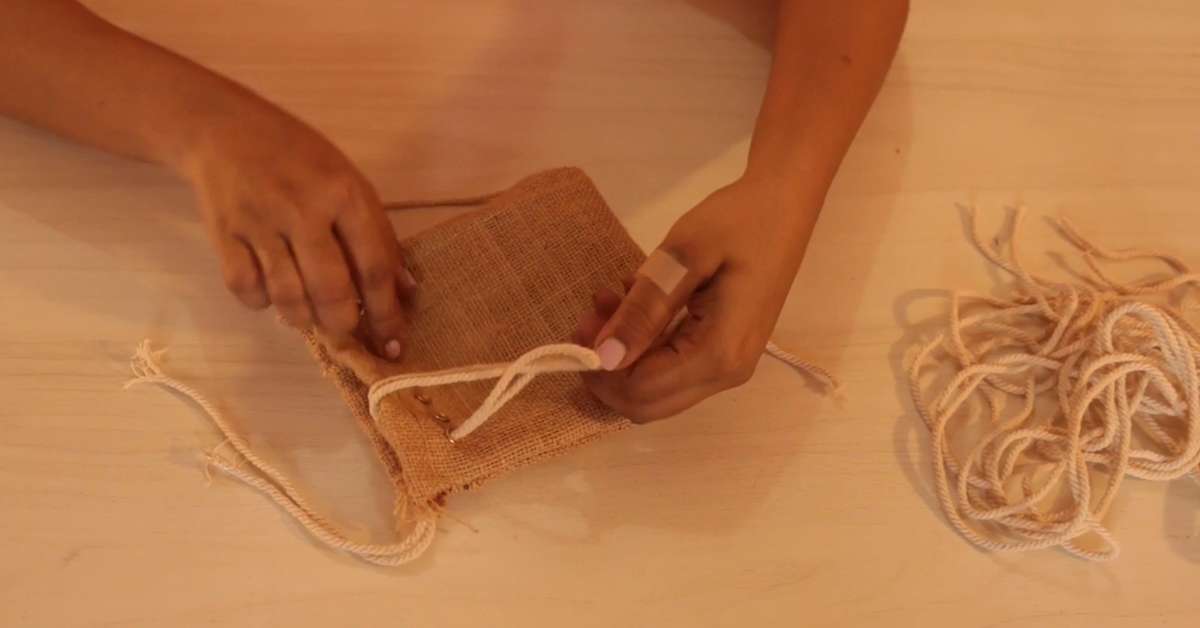
7) Make a loop with the drawstring
After inserting the drawstring through one channel, loop it into the other drawstring channel.
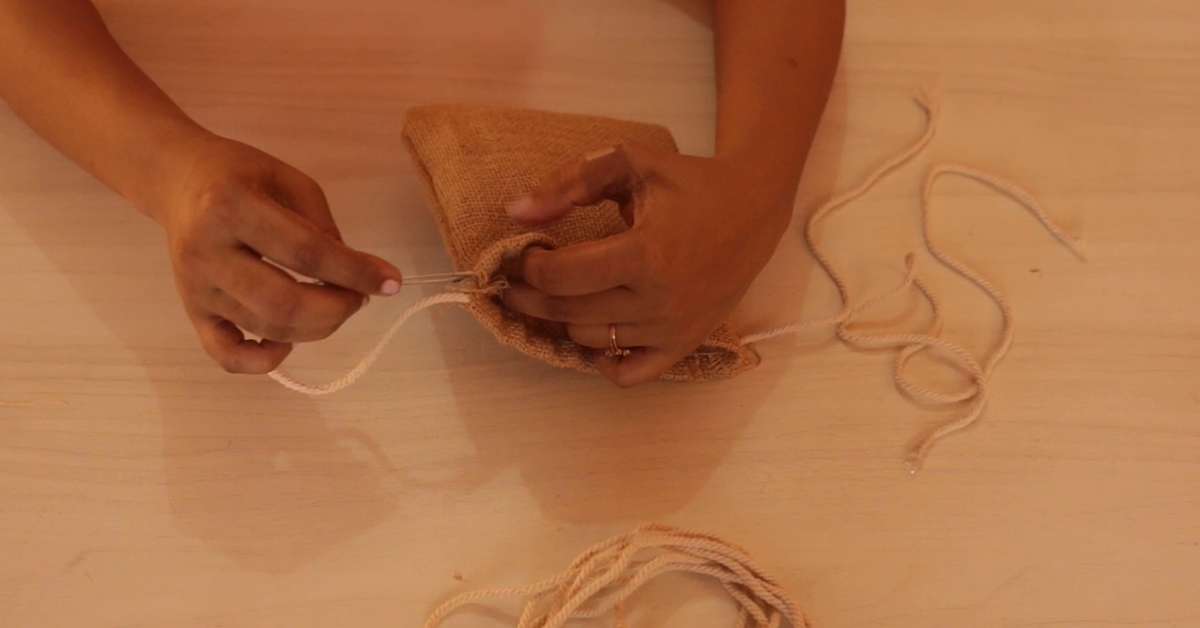
Once done, both ends of the drawstring should be free at one side.
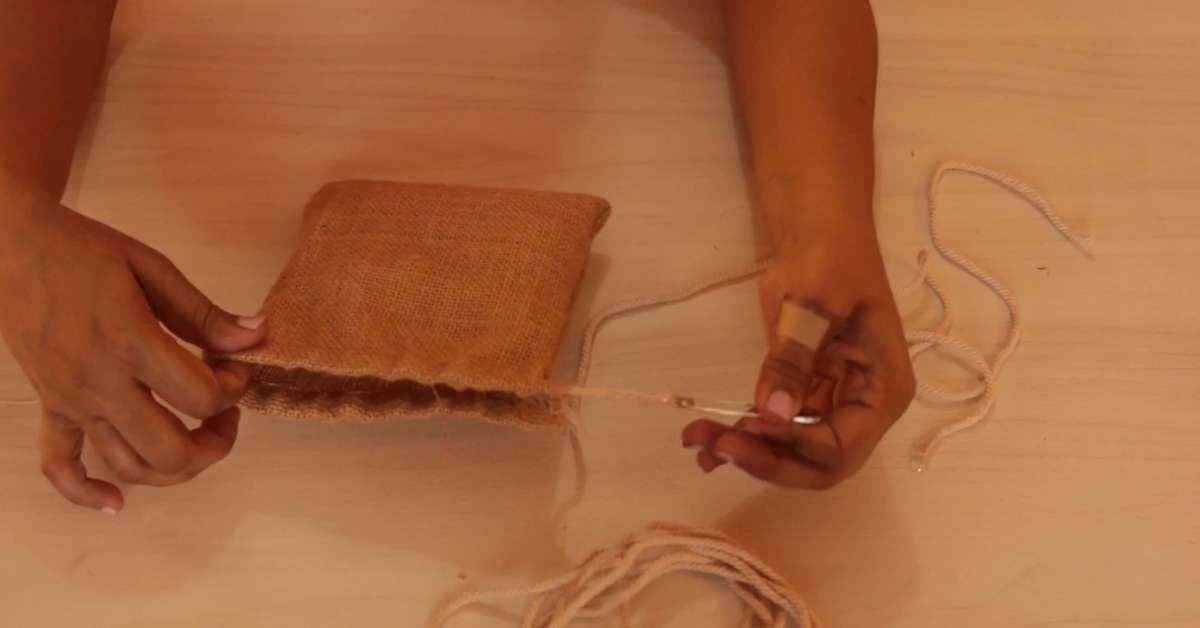
Take another drawstring and insert it the same way as before but from the reverse side so that they occupy the channel ends opposite to the first ends.
8) Punch holes in the bag
Use a pen to mark 8 holes below the drawstring channel.
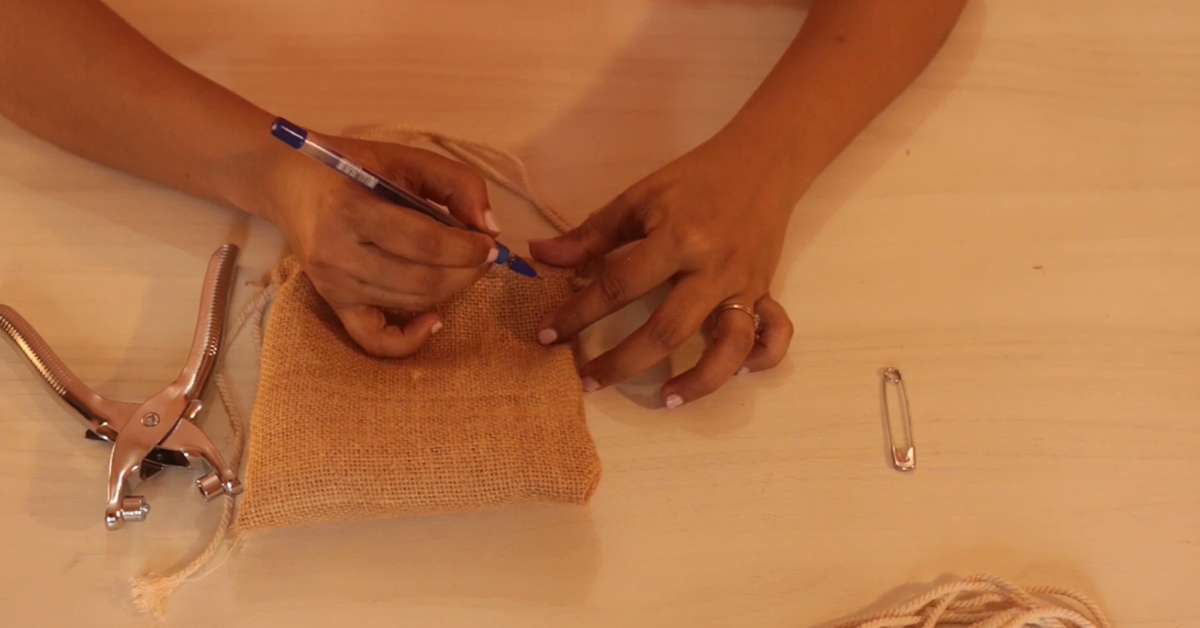
Use a puncher (punching machine) to punch the holes.
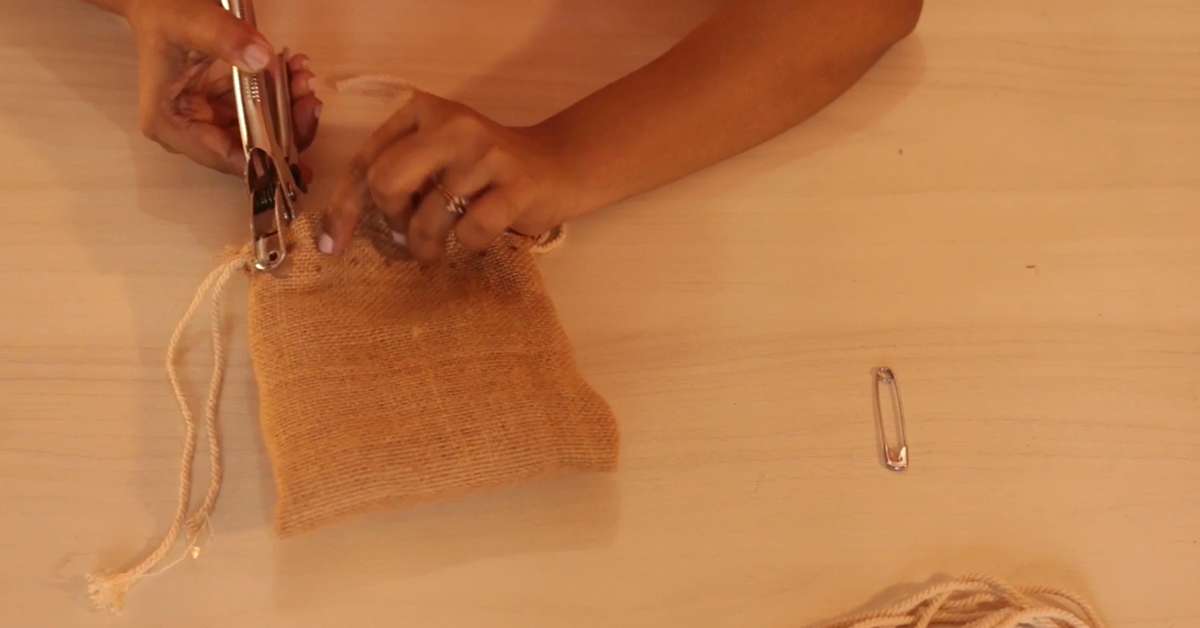
9) Secure the holes
Insert grommet rings in all the 8 holes using a grommet plier. If it’s your first time doing this, make sure that the base of the grommet is inside. Make sure to punch the grommet on all the 8 holes.

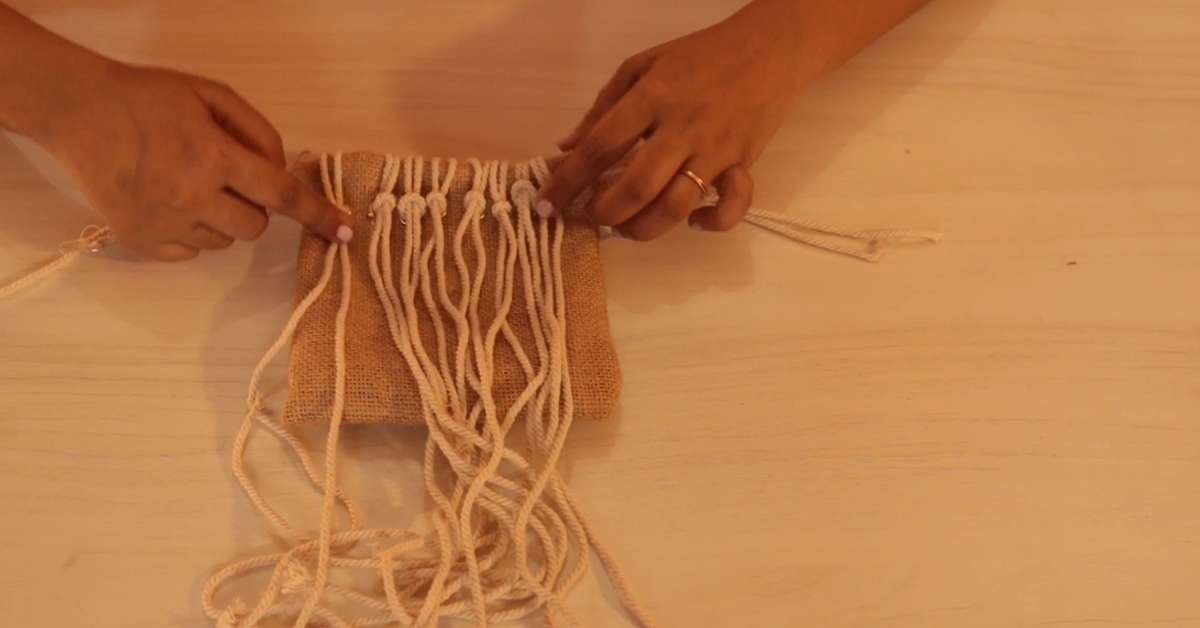
10) Tie macrame cords to the bag
Take macrame cords and loop them through the grommet holes using the lark’s head knot.
Make sure that all the cords measure 45 cms in length.
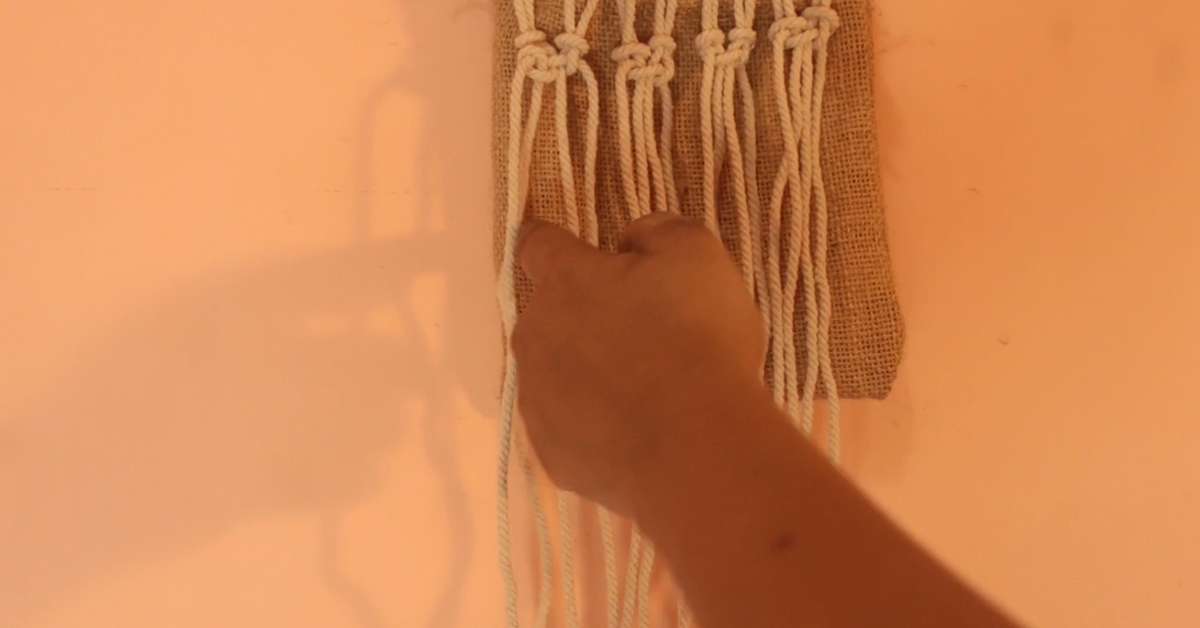
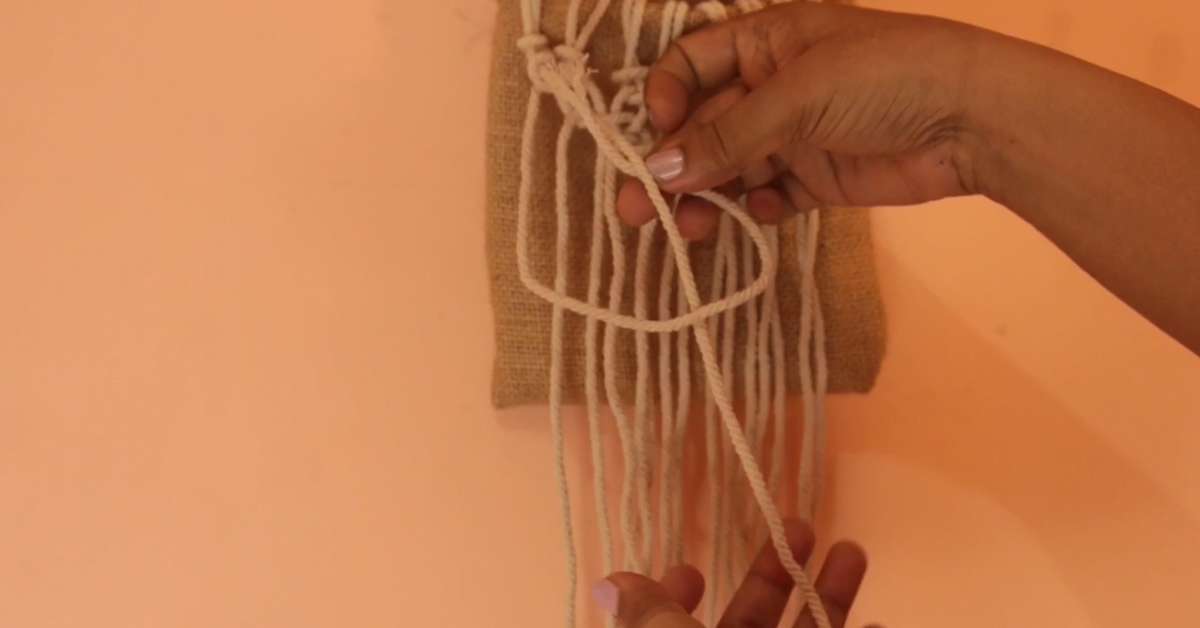
11) Make a woven-like design with the macrame cords
Give a woven tapestry-like design to the bag by knotting the macrame cords. Take the first 4 cords (of the first 2 knots) and knot them by following this pattern.

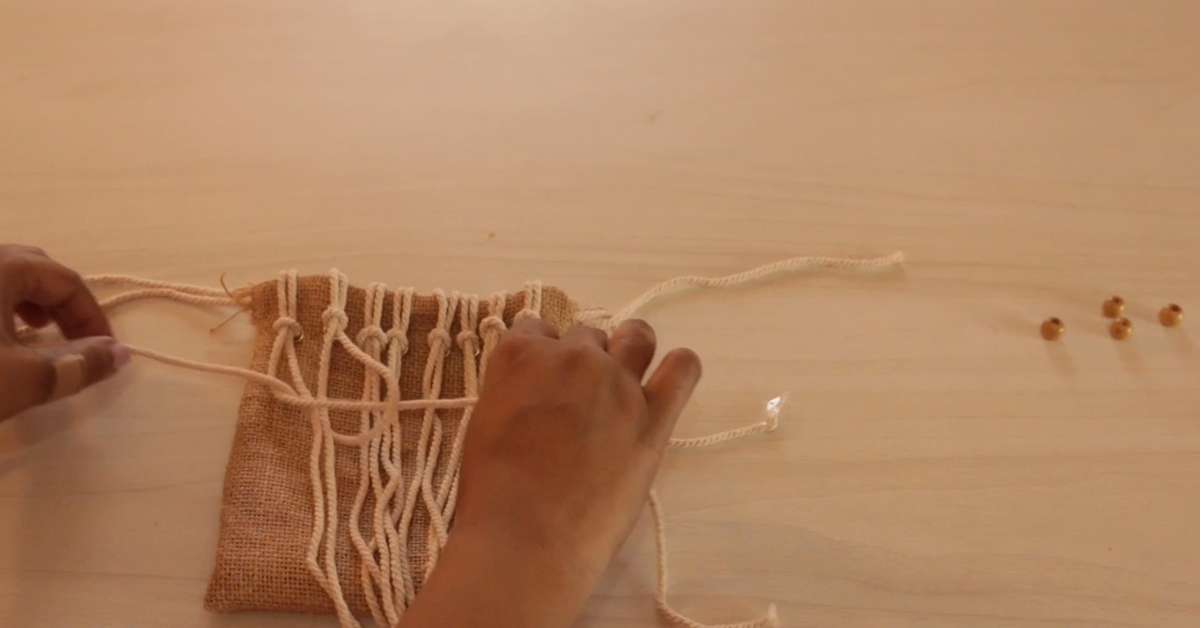
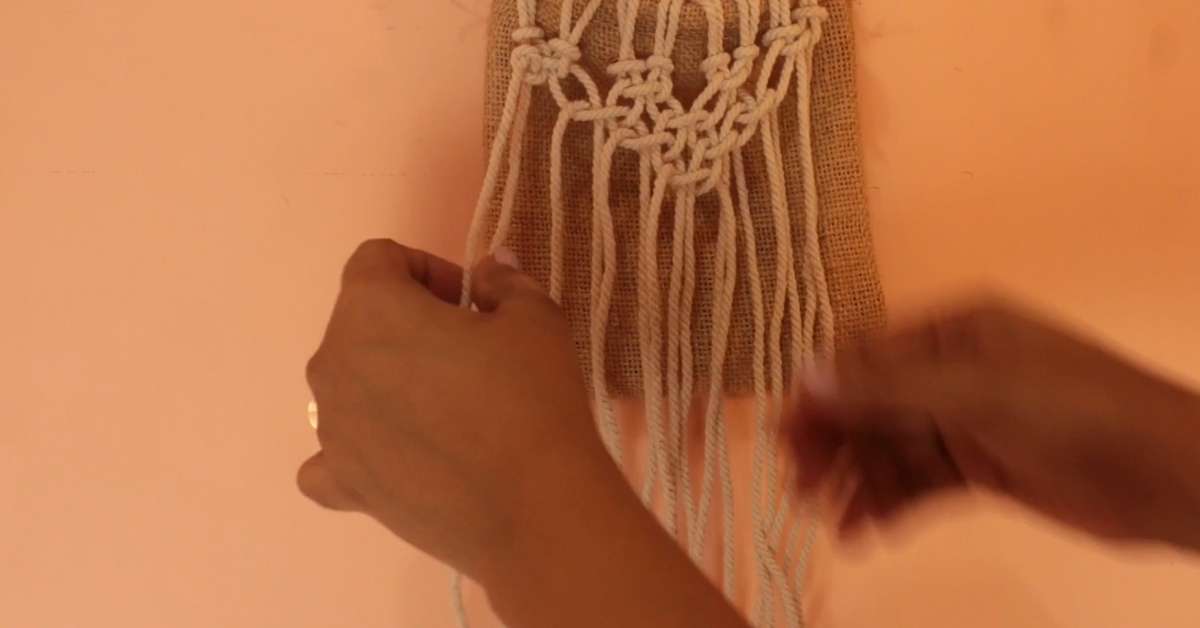
Sequentially repeat the knot pattern for the remaining group of 4 cords.
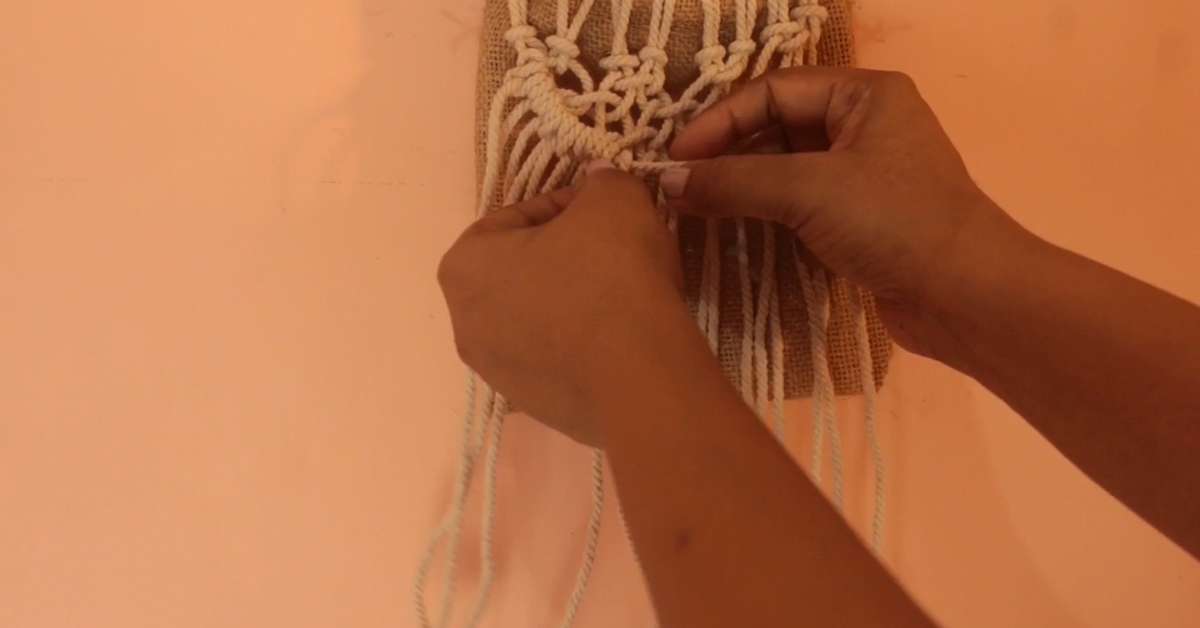
Arrange the last 2 and first 2 cords of the knots and follow the previous knot pattern.
Repeat this for the remaining split cord groups.
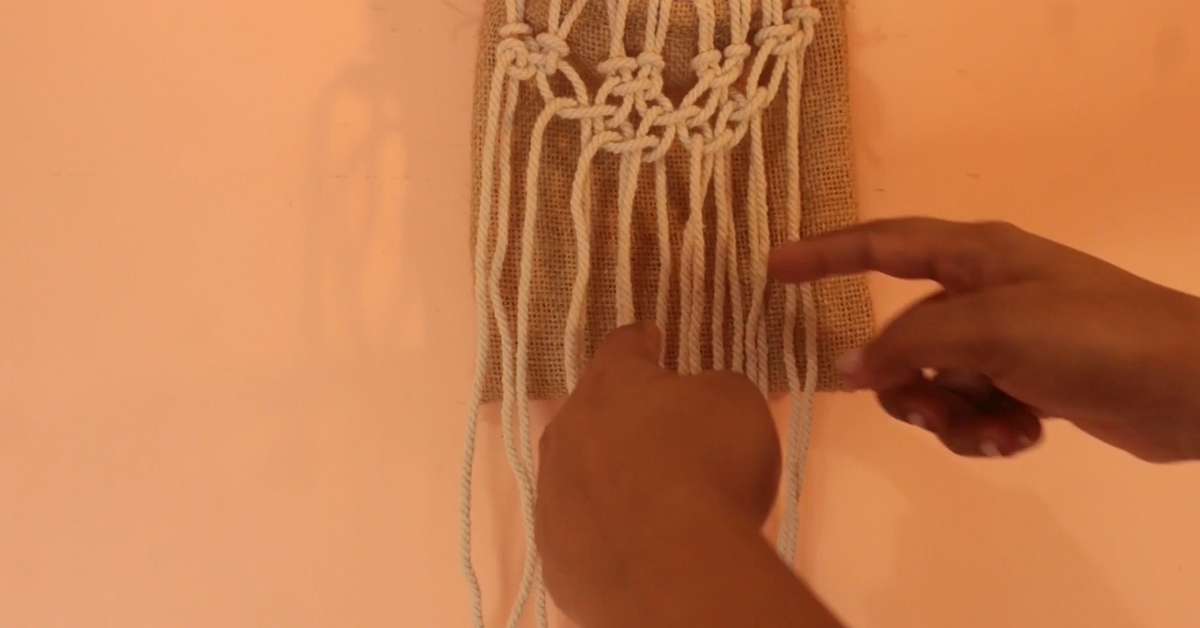
After you run out of the cord split combinations, the overall knot design should resemble a V shape.
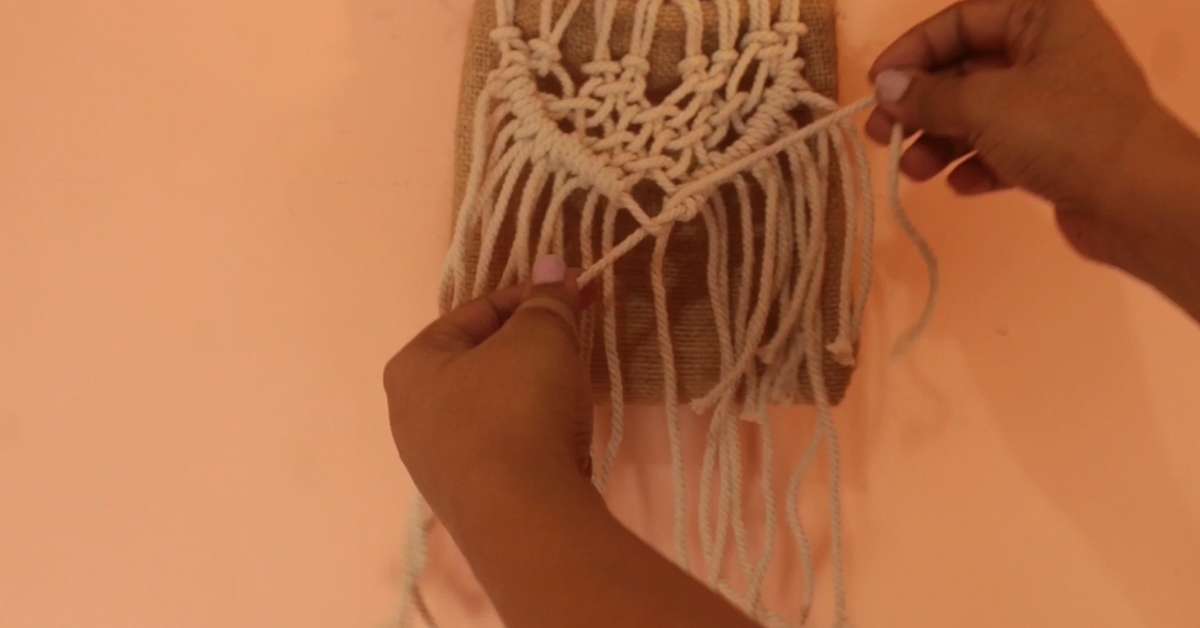
12) Give a final touch-up to the knot design
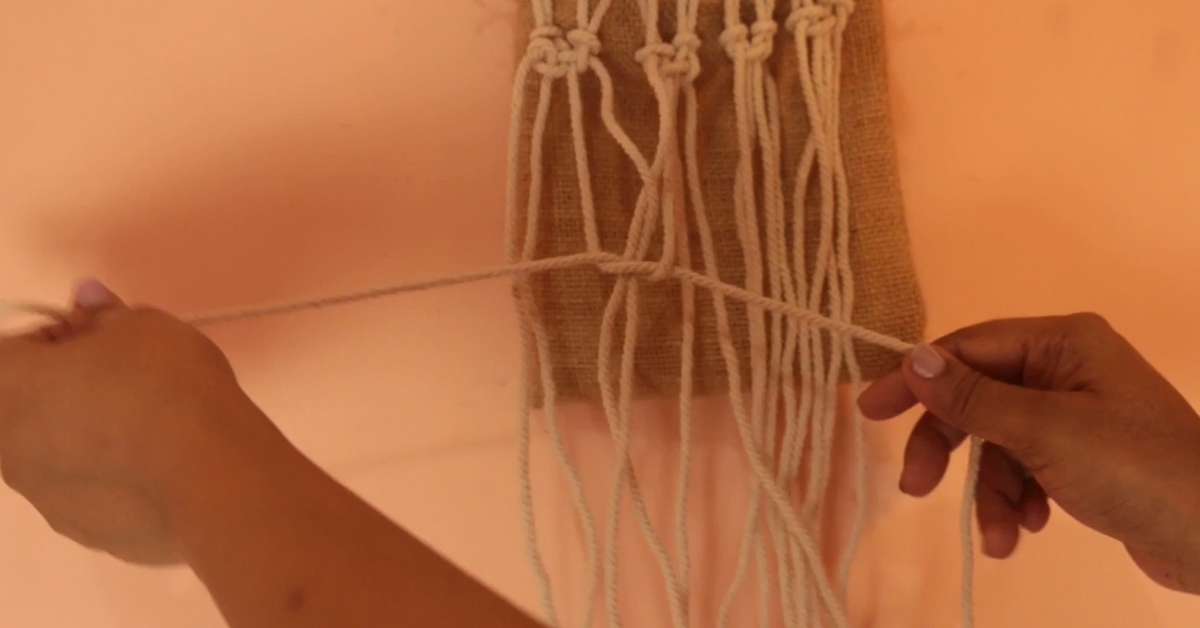
Add a stylish border to the V-shaped knot design by taking the first cord as the anchor cord. Tie the second cord in a loop-like knot twice.
Tie every other cord with the anchor cord.
Once done, repeat the same process for the other side of the V-shaped knot.

Make sure to close off and secure the point where the 2 outermost cords meet. I recommend tying two knots.
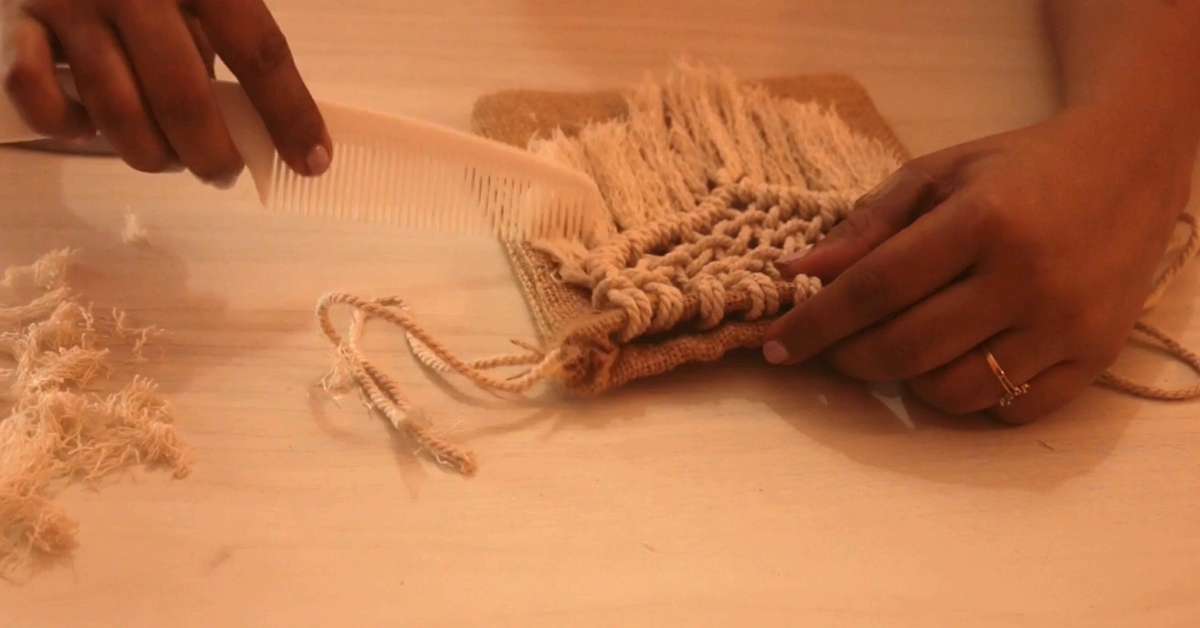
13) Trim the remaining cords
Trim the remaining cords in a V shape to give the design a clean look.
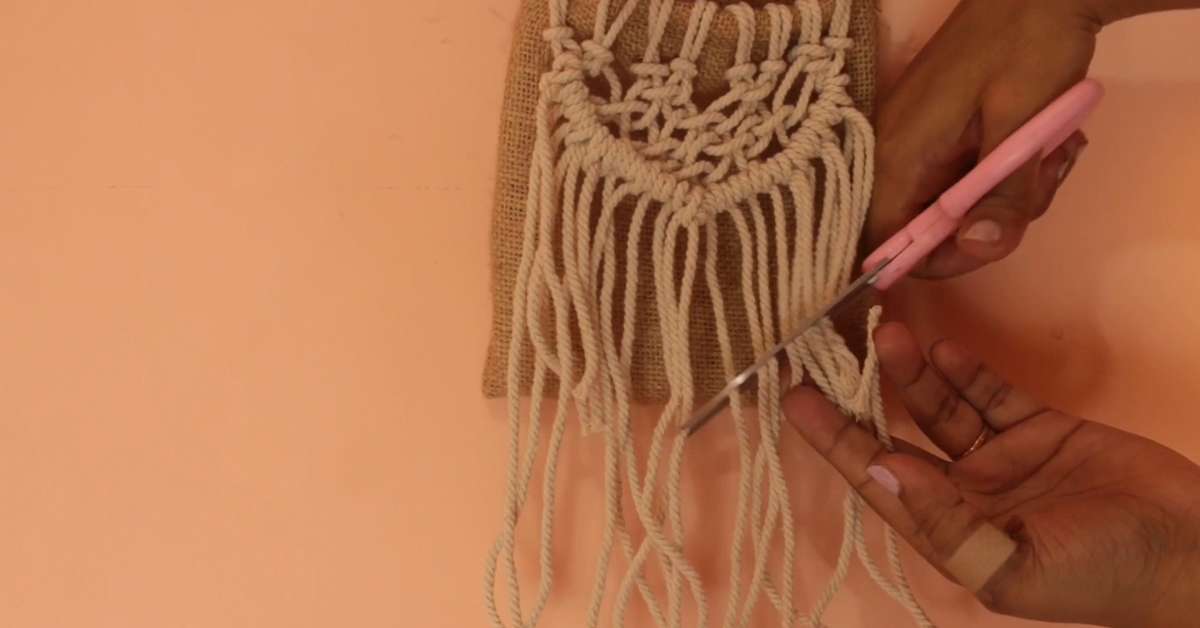
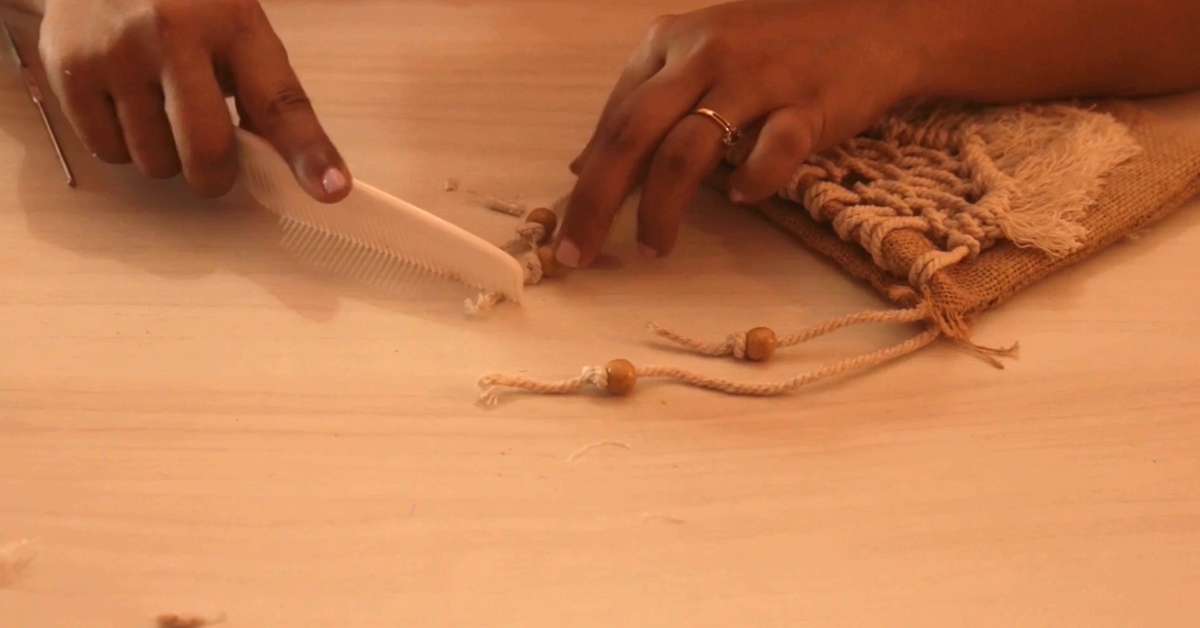
Brush open the cords using a comb.
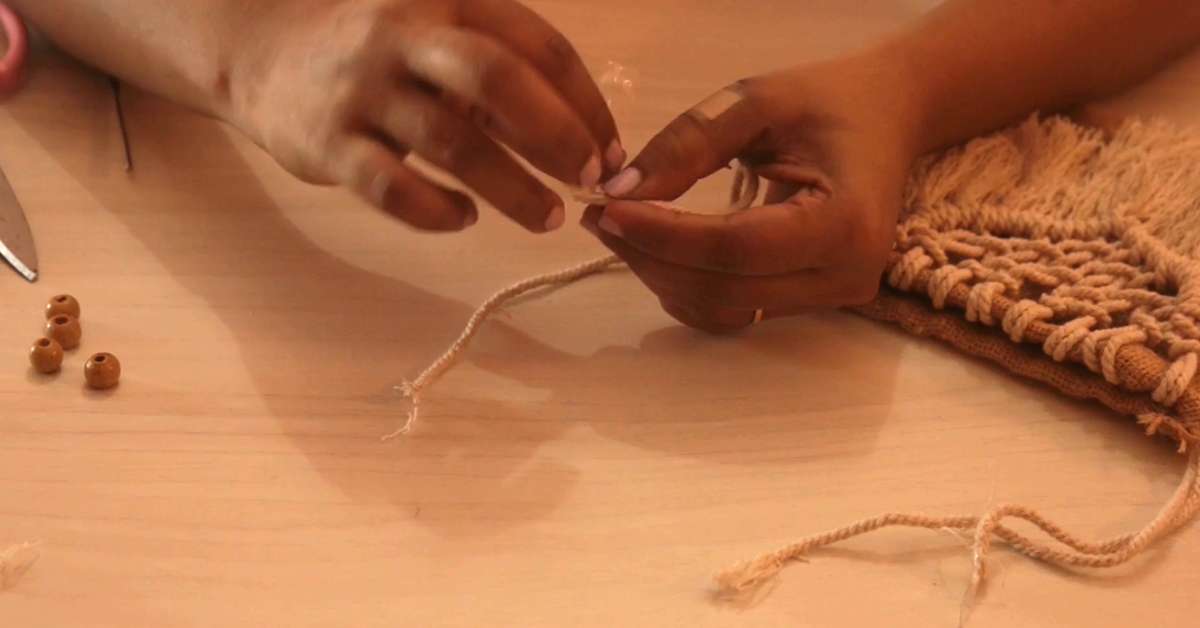
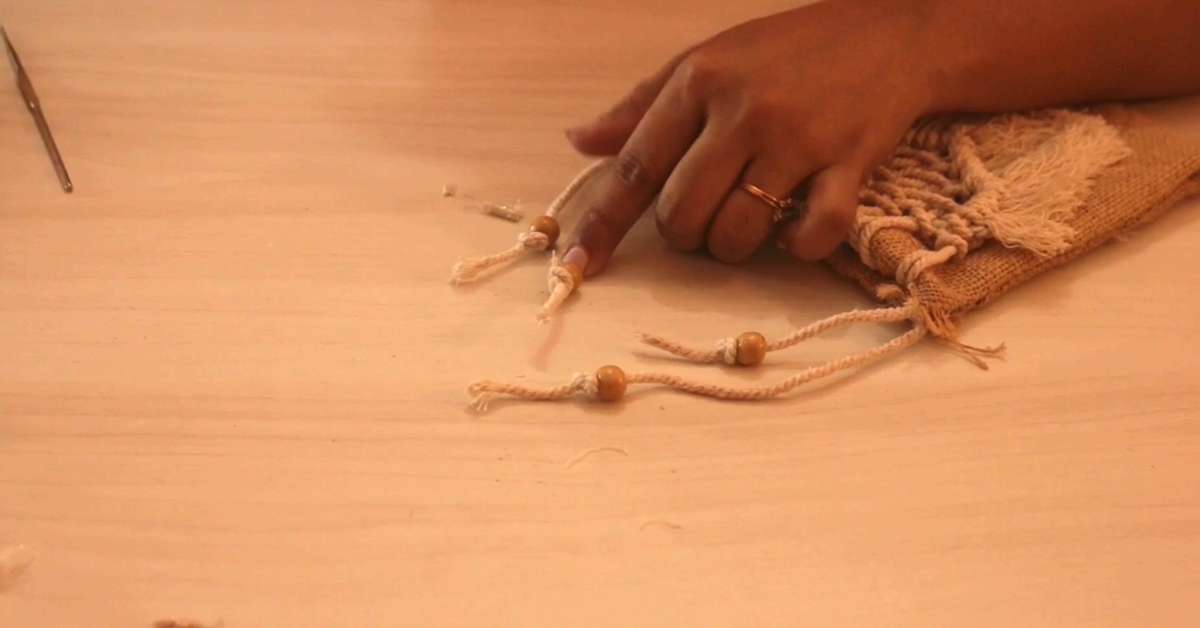
14) Wrap it up with beads
The final step of this DIY project is to insert beads on the drawstrings. Make the drawstring ends firm by taping them. Doing this will help you easily insert the string through the beads.
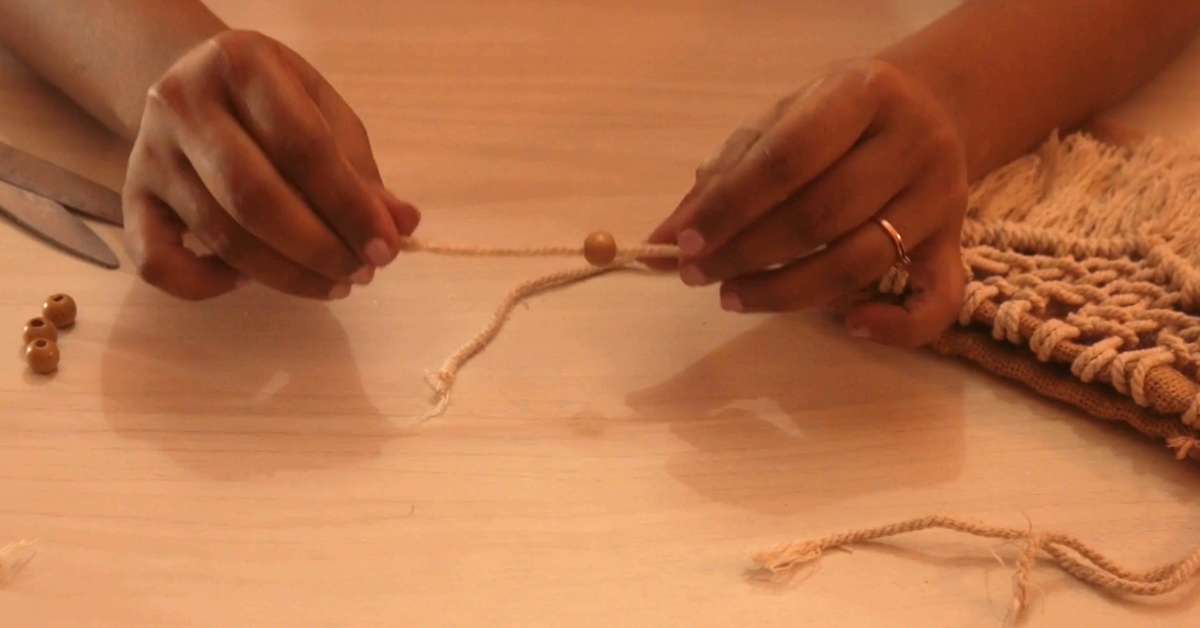
After inserting all the beads on all 4 drawstring ends, cut the taped ends.
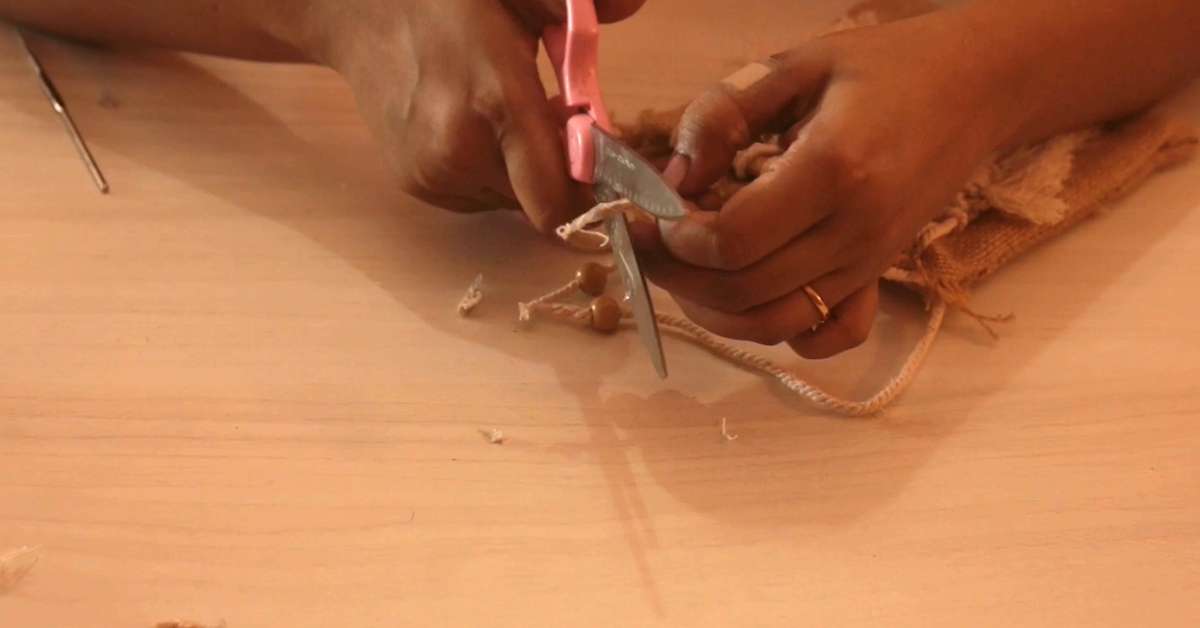
Tie a knot on every string so that the beads don’t fall off.
Brush the open ends of the drawstrings to complete the overall look of the potli bag.
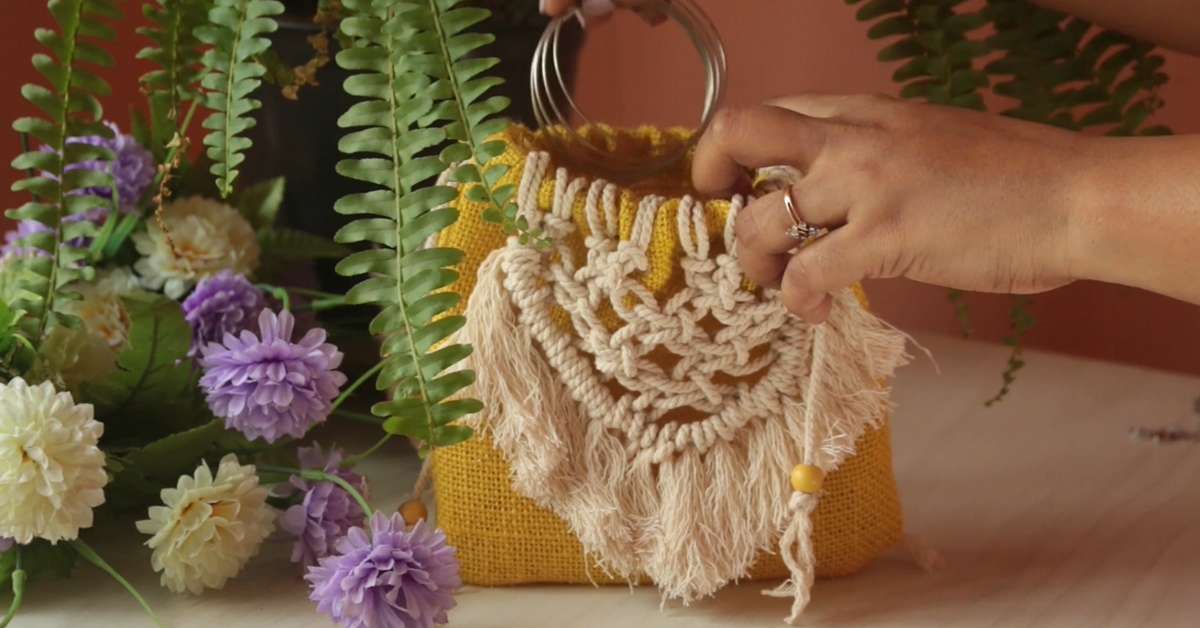
Use the potli bag the way you want
You can use the potli bag as your mini drawstring bag. As a decor element, this potli bag works wonders in adding a sense of warmth and texture to your rooms’ overall look.
I hope you enjoyed this DIY project. Watch out this space for more as I post weekly DIY projects.
You can also hop on to my YouTube channel for DIY’s and makeovers:
https://www.youtube.com/channel/UC4zeUGzp_ms723IaBlCBdYg/videos
Till then stay creative!
Supplies Required:
3mm Macramé Cord - https://amzn.to/2ASK1Ao
Scissors - https://amzn.to/3jdCE7Q
Burlap Cloth - https://amzn.to/2WBtM27
Hole Punch Tool and Grommet Setting Kit - https://amzn.to/3hsnVED